Tutorial: File Replacement
Replacing files with the “Replace Media” tool
You can save yourself a lot of time and inconvenience by replacing outdated files instead of adding a new one with each update. Make sure you’re using good file naming practice before you use this method.
Some of the benefits of this method include:
- No page/WYSIWYG updates required
- This is especially helpful if your file is linked on many pages
- No need to delete old files
- No clutter builds up from archives of old and unused files
Here’s where to start
- Check the name of the file that you are replacing and give your new file the exact same name.
It is case sensitive, so make sure that capitalized letters match too. Example: uganda-trip-application.pdf - Open the Media Library and locate the file you would like to replace.
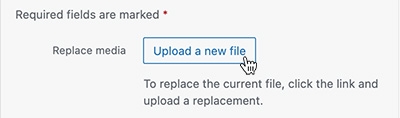
Click on the file to open the attachment details window. - Select the “Upload a New File” button located next to “Replace Media.”
After clicking the button, you will be taken to the Replace Media Upload page.
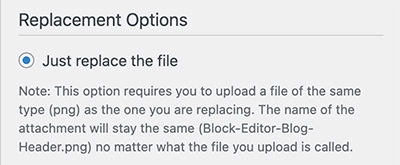
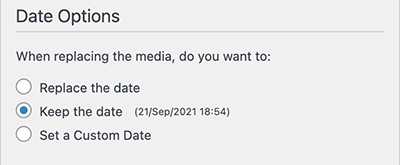
- Upload the new file from your computer. Set Replacement Options to “Just Replace the File” and Date Options to “Keep the Date.”
Your replacement file should be the same file type as the current file. For example, if you are replacing a pdf, your uploaded file should also be a pdf.
- Click “Upload.” Once complete, you should see “File successfully replaced” appear at the top of the page.
- Check that your file uploaded correctly by opening a page where the file is linked to.
You may need to hold your “shift” key and refresh the browser window in order to see the updated version of the file.